

how to install single column radiator ?
Click:257 / Publish:2023-05-22 11:44
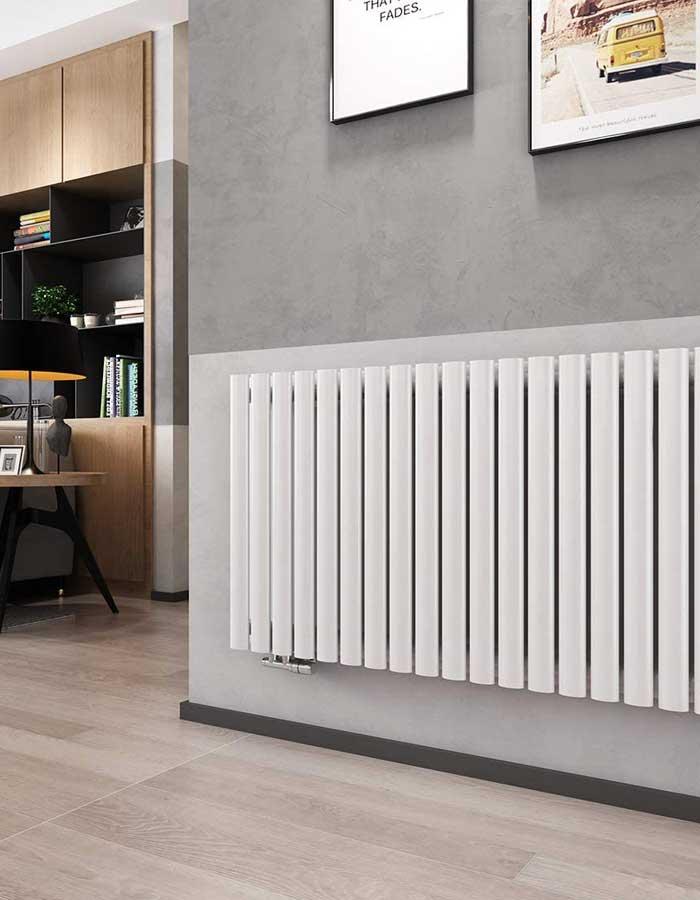
Installing a single column radiator involves several steps, but it can be done with some basic DIY skills and the right tools. Here are the general steps for installing a single column radiator:
Choose the location: Decide on the location of the radiator and mark the positions of the brackets on the wall. Make sure that the wall is strong enough to support the weight of the radiator.
Install brackets: Install the brackets onto the wall using screws and a drill. Make sure they are level and properly aligned.
Attach valves: Attach the valves to the bottom of the radiator. These are used to control the flow of water into and out of the radiator.
Mount the radiator: Carefully lift the radiator and hang it onto the brackets. Use a spirit level to ensure that it is level.
Connect to the heating system: Connect the radiator to the heating system using appropriate pipes and fittings. If you are not familiar with plumbing, it may be best to hire a professional for this step.
Bleed the radiator: Once the radiator is connected, open the valves and bleed the radiator to remove any air pockets.
Test the system: Turn on the heating system and check the radiator for leaks or other issues. Make sure that it is heating up properly and that there are no unusual noises.
It's important to follow the manufacturer's instructions and any applicable building codes when installing a radiator. If you are not comfortable with any of the steps involved, it's best to hire a professional plumber to do the job for you.